Spirit Portrait drawing guide · by Anne-Marie Bond
Drawing a Spirit Portrait brings two things together: a receptive, mediumistic practice, and the ordinary drawing skills needed to build a believable human face. The first may shape what you perceive. The second carries it onto the paper.
Begin with section 1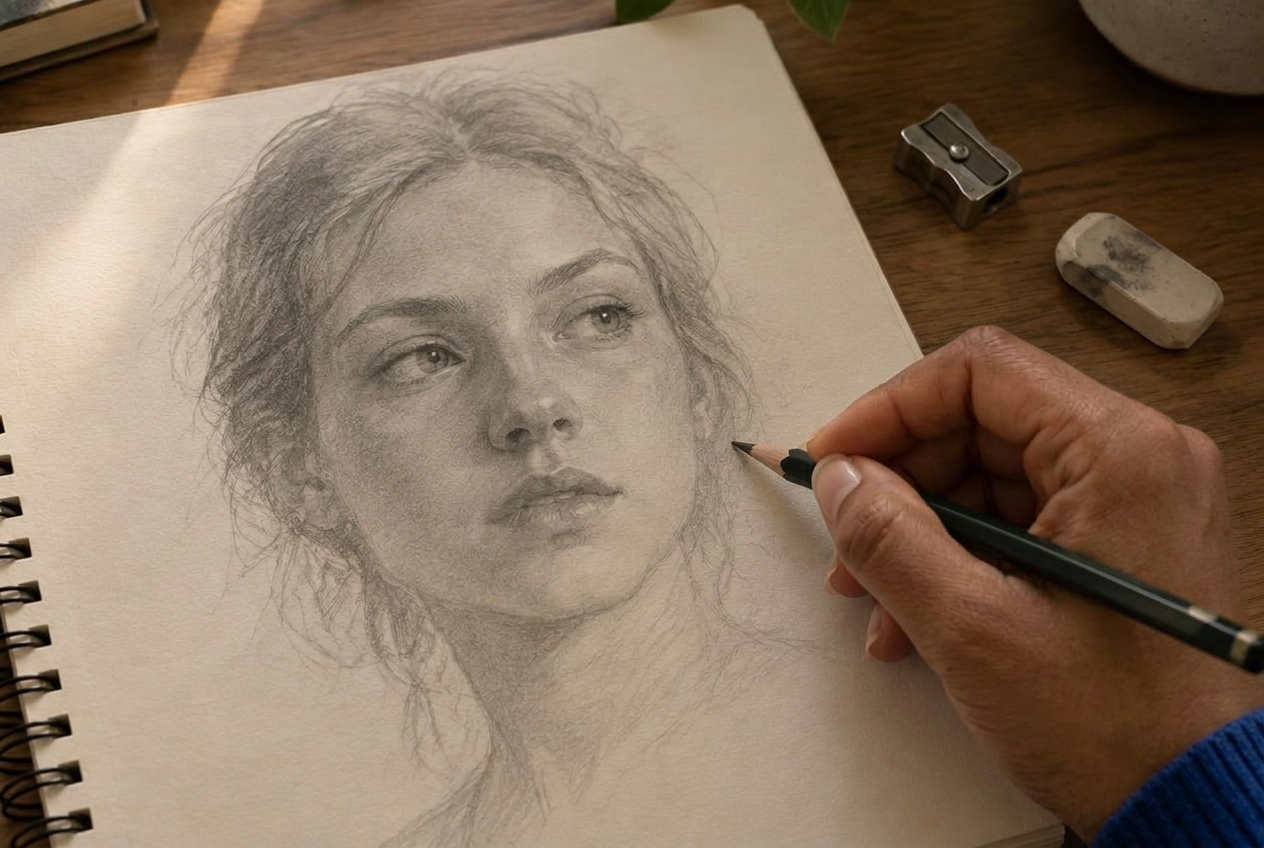
The hand still has to do the work.
Look first
A few seconds of looking saves an hour of correcting.
Big shapes, then small
Head, centre line, placement — detail comes last.
Tone gives life
Light and shadow turn a flat outline into a face.
“A better-drawn portrait gives whatever you're sensing a clearer form on the page.
It doesn't mean artistic accuracy proves mediumistic accuracy. New to the subject? You may like to read what Spirit Art is first.
Section 01
How do you draw a Spirit Portrait?
The short answer
There's no single compulsory method — but most approaches move from large, general shapes to smaller, specific detail.
Some Spirit Artists begin with a meditation or settling exercise. Some start drawing straight away and let the impression build as the marks appear. Either way, a practical sequence usually looks like this:
Head shape and direction
The centre line
Place the eyes
Nose, mouth and jaw together
Light and shadow for form
Refine the likeness — last
Rushing to the likeness first is one of the most common reasons a Spirit Portrait feels close but not quite right.
Section 02
Start with observation, not detail
The short answer
Spend a few seconds looking at the whole impression before you draw a single feature.
Notice the head shape, its angle, the approximate age, the width and length of the face, and where the main features sit. Notice what strikes you most strongly first. That first impression is useful — but it needs a structure underneath it.
Beginners often start detailing the eyes too early. Keep the first stage loose: a light egg shape and a few placement marks are enough.
Section 03
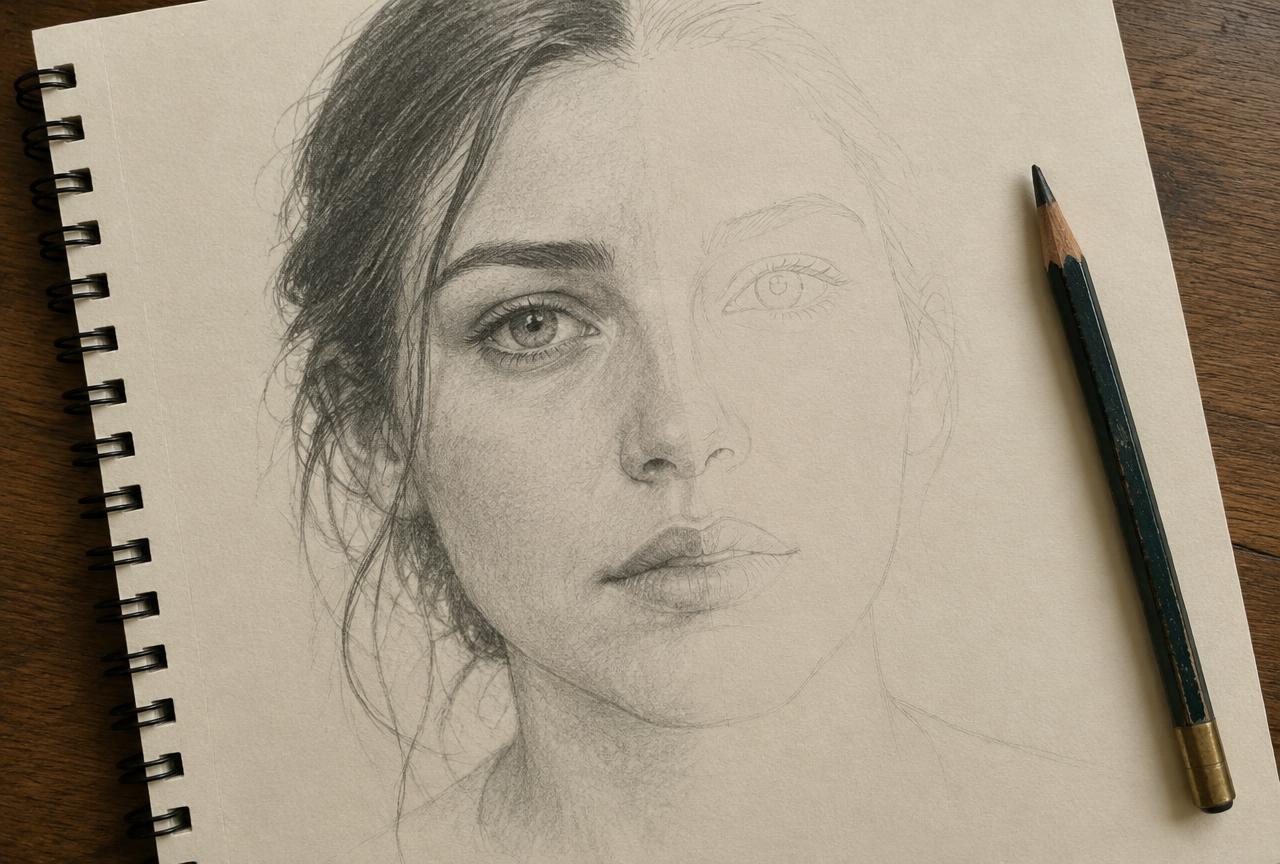
Establish the centre line of the face
The short answer
It runs from the forehead, down through the nose and between the lips — and shows which way the head is facing.
Front-facing head
The centre line is vertical.
Turned head
It curves gently across the form.
From it you can judge the alignment of the eyes, the placement of the nose and where the mouth sits, and see symmetry or asymmetry. Don't draw it as a dark, rigid line. Keep it light — a temporary guide you can soften or remove as the drawing develops.
Section 04
Place the eyes, nose, mouth and jaw
The short answer
Check each feature against the others and the head before you commit to detail. Tap a tab below.
The eyes are usually the first place a viewer looks — and the first place a drawing can go wrong.
Common problems include eyes drawn too close together or too far apart, placed too high on the face, of unequal size, or both drawn as if the face is looking straight ahead when the head is actually turned.
A helpful starting point
The eyes sit roughly halfway down the head, crown to chin. The gap between them is often about one eye-width.
These are starting points, not absolutes — faces vary.
Section 05
Use light and shadow to create a three-dimensional face
The short answer
A face is three-dimensional. Light, mid-tones and shadow working together make it look rounded and alive.
Find the light
Decide where it's coming from first.
Map the planes
Those facing the light, and those turning away.
Place the darkest accents
Where the form changes direction sharply.
Over-outlining every feature can flatten a portrait. Lines describe edges, but most of what we see on a face is gradual tonal change. Build tone slowly with soft pencil pressure and let the shadows show the depth. The darkest dark and the lightest light give the drawing its range; everything else sits between them.
Section 06
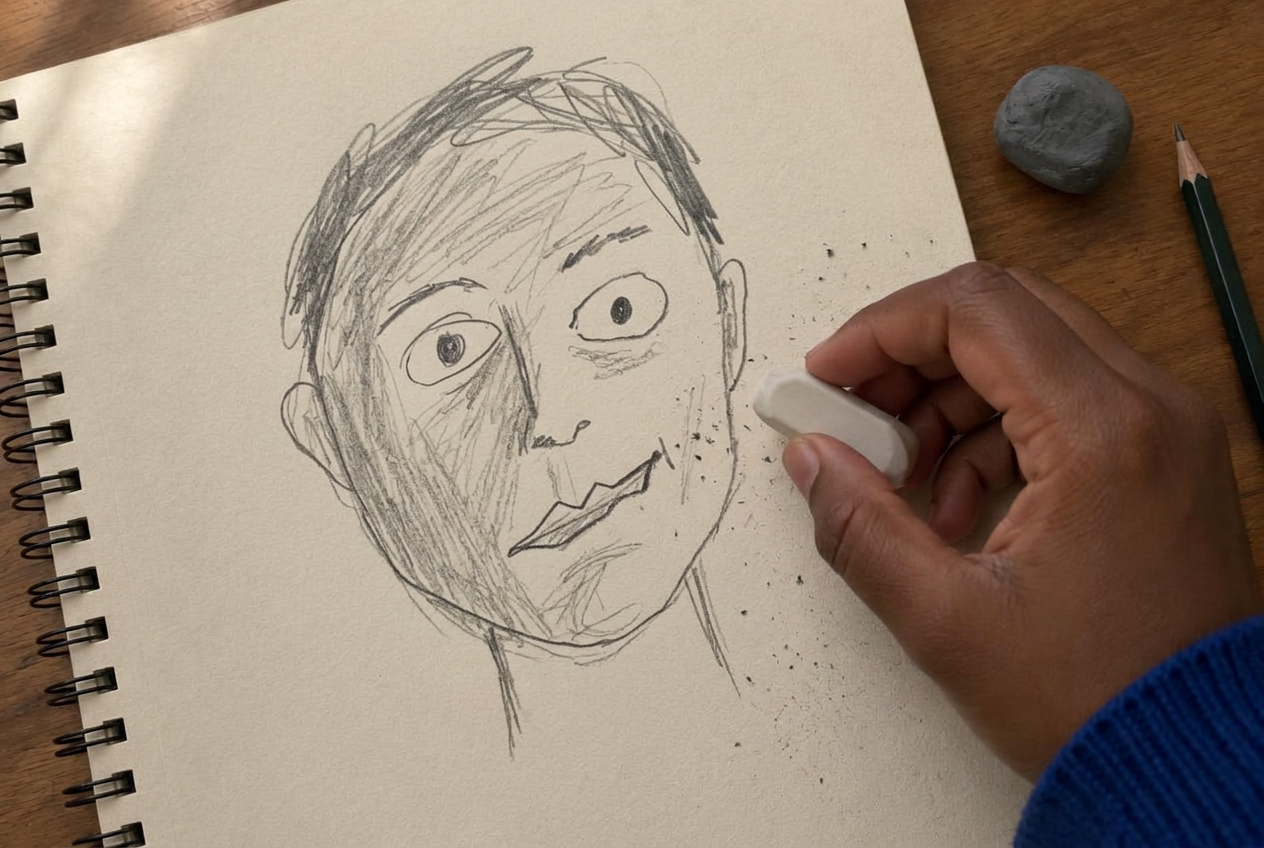
Don't chase the likeness too early
The short answer
If it "doesn't look right", the problem is usually the structure underneath — not the features.
Proportion, placement, head shape or alignment. Changing the eyes for a fifth time won't help if the centre line is wrong.
Get the head shape, centre line and main placements right first. Once those are sound, the likeness usually begins to appear almost by itself. And if it still doesn't, at least you'll have a well-drawn face.
Section 07
Working receptively while still using drawing skills
The short answer
Using artistic knowledge doesn't have to interfere with a receptive process. The two aren't in opposition.
The skill is in staying receptive while your hand keeps working.
You can stay open to impressions while understanding proportion, form, tone and facial structure. Learning the fundamentals isn't about controlling the communication or forcing a particular face — it gives you better tools for representing whatever you perceive. For more focused advice, the spirit portrait drawing tips page goes into proportion, tonal range and likeness in detail.
Section 08
Common Spirit Portrait drawing problems
The short answer
Most difficulties fall into a few familiar patterns. Recognising them is the first step to fixing them.
Tap each card to see why it happens
Many of these come from the same source: moving to detail before the larger structure is secure. Correct the big relationships first and the smaller problems often become much easier to fix.
One-to-one
Private Spirit Portrait Tuition with Anne-Marie
Would you like individual help with your own Spirit Portraits? Book a 30-minute private teaching session and get focused guidance on your portrait drawing, including the areas you'd most like to improve.
30 minutes · £89.00
Book a Private Teaching SessionSection 09
How to practise Spirit Portrait drawing
The short answer
Steady, repeated practice matters more than any single dramatic session.
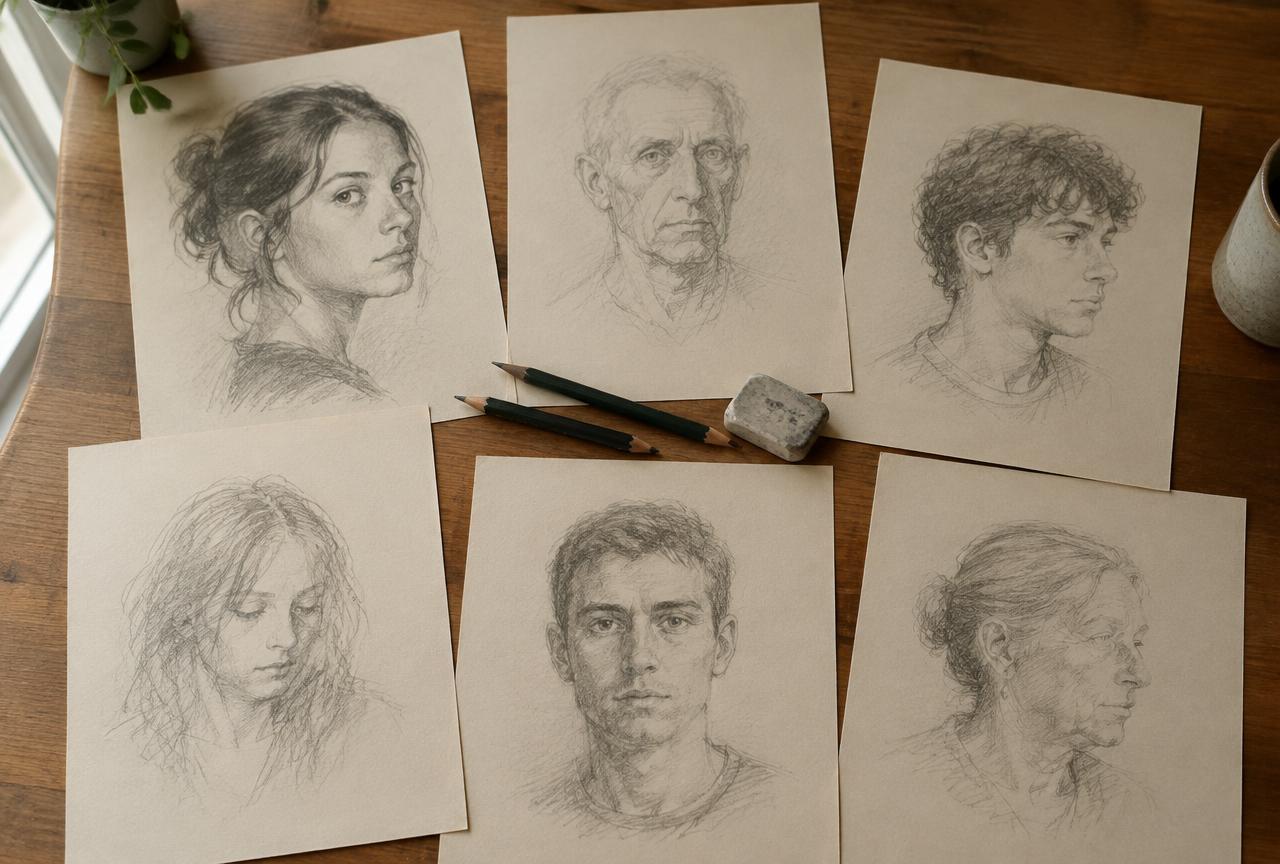
The habits I've seen make the biggest difference
Tick the ones you already do
Practising with other people is especially valuable. I run live portrait practice sessions through the Drawing Portraits Club, where the emphasis is on strengthening portrait skills in company rather than performing.
Section 10
How Spirit Art Mentor can help you improve
The short answer
Spirit Art Mentor looks at the artistic qualities of your uploaded drawing — the drawing itself, nothing else.
It doesn't judge whether a communication is genuine, name a spirit person, or tell you whether you have mediumistic ability. Your report looks at areas such as:
You get feedback, one clear priority to work on, and a short exercise to practise before your next portrait. See the process on the How it works page.
Would you like feedback on your own Spirit Portrait?
Upload one of your drawings and try the free Mentor Taster. You'll get feedback on the artistic development of your portrait and a clear area to work on next.
Keep developing, one portrait at a time
Stronger Spirit Portraits come from repeated observation, drawing, reflection and correction — not from chasing a single perfect drawing. Each portrait can teach you one thing if you let it.
Be patient with yourself. Choose one skill at a time, keep your previous drawings, and look at your work with honest, fresh eyes. That's how the drawing grows, and how the practice deepens.